With the start of a new school year, my Pinterest boards are full of crafts for the classroom. I couldn’t wait to start a project, so this is my first one I decided to create! This is perfect for in the office, classroom, outside the door to your classroom, or on your door! You can decorate this however you choose and really add your own personal touches to it. I love blush, gold, rose gold, and neutrals…so this is perfect for me!


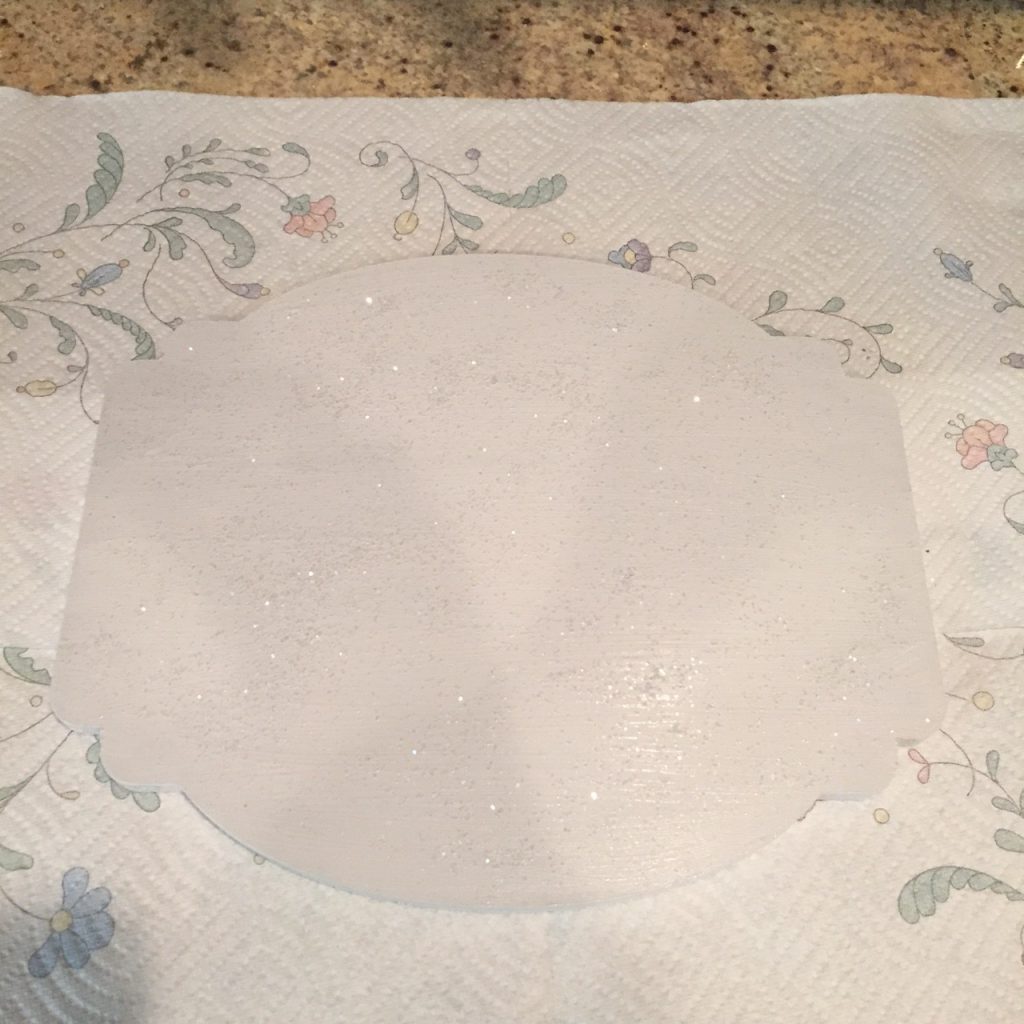
Step 1: Paint your piece any color you want and add sparkle!
I went to Hobby Lobby to find this wooden sign. They have so many different shapes and sizes to choose from! I also used paint that I used to paint my room; however, you can use any kind of paint for this project! Just pick your favorite color and go from there!
I also used white glitter and dusted it onto the sign while the paint was still wet. You can use any color glitter as well! I just wanted something with a hint of glitter, so the white worked out perfectly. It looks like fairy dust!
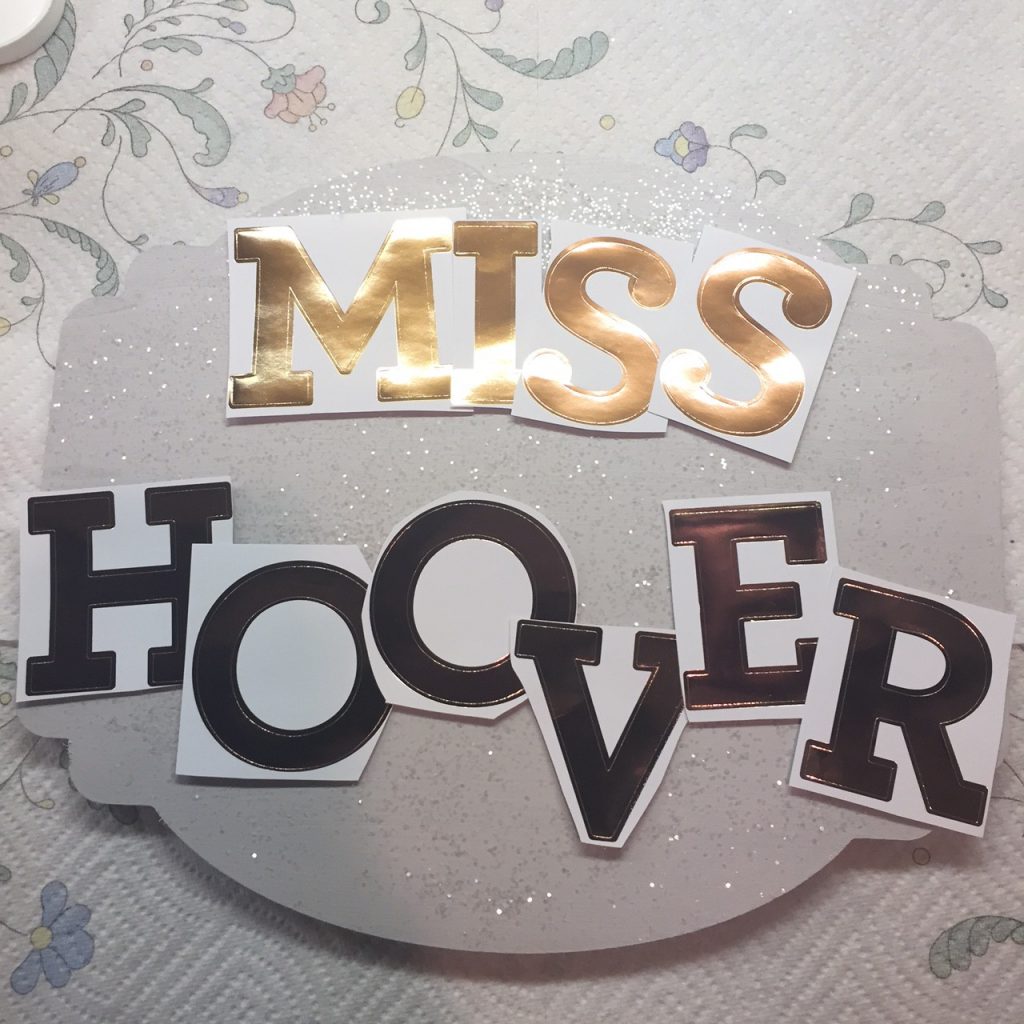
Step 2: Wait for the paint to dry and get some cute stickers!
These stickers were found at Michael’s. I love these because they are big and ROSE GOLD!! Hello, perfect. They also had red, silver, gold, black, and navy!

Step 3: Cut out the stickers so you can plan them on your sign and see where you want them.
I chose to cut out the stickers first so that I could play with where I wanted the letters to go and look at spacing. Make sure the paint is DRY when you do this!!
You can also add your room number, but I don’t know mine yet! hehe!
Step 4: Place stickers where you want them.
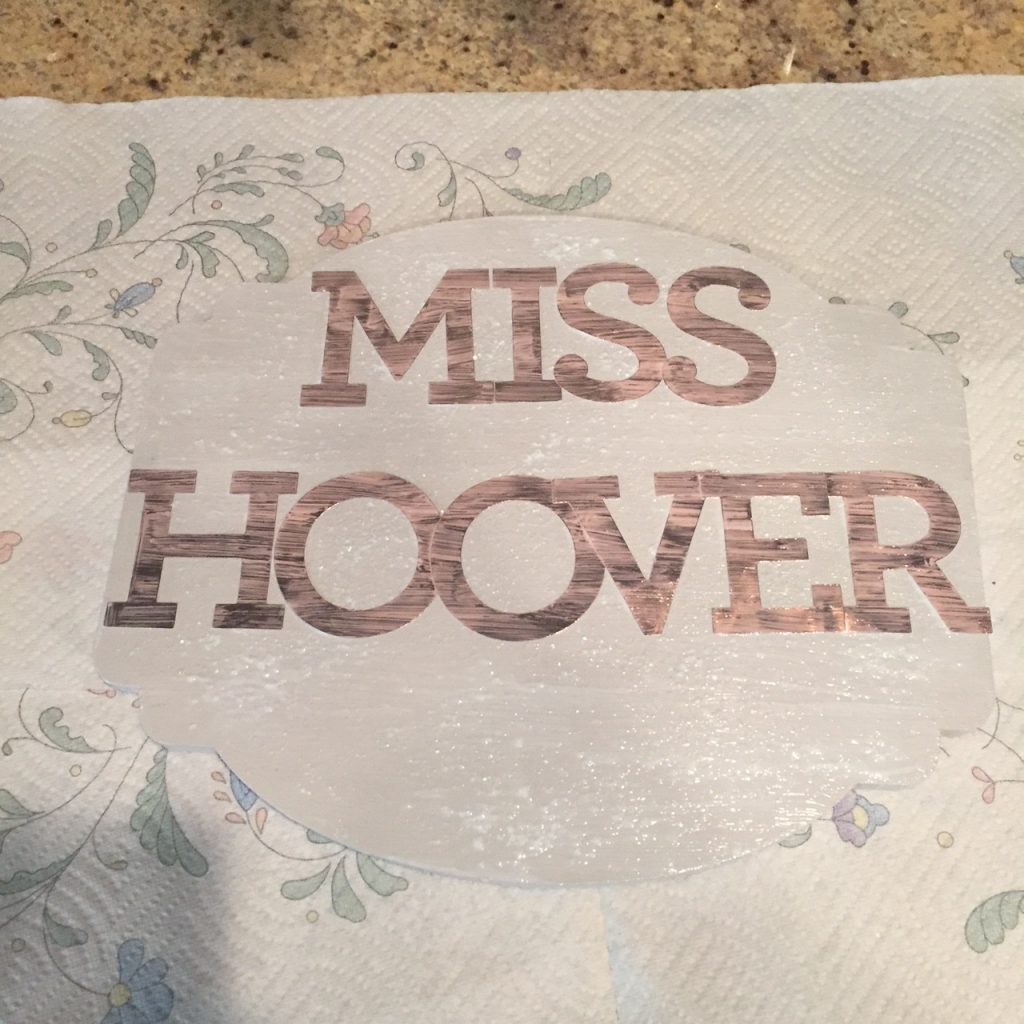
Once I decided that I liked where the stickers were, I peeled them off and stuck them where I wanted them. With the glitter, it is a little harder to get the sticker to stick, so just make sure to press down on them!

Step 5: To seal stickers on wood, paint Mod Podge over the entire sign.
Once the stickers were placed perfectly, I got my Mod Podge and paintbrush and brushed the entire sign with Mod Podge. This helps seal the paint color, the glitter, AND the stickers. Now, I can pick up my sign and glitter doesn’t get everywhere!
Step 6: Let paint dry, then with a glue gun, glue a string to the back of the sign so it will hang.
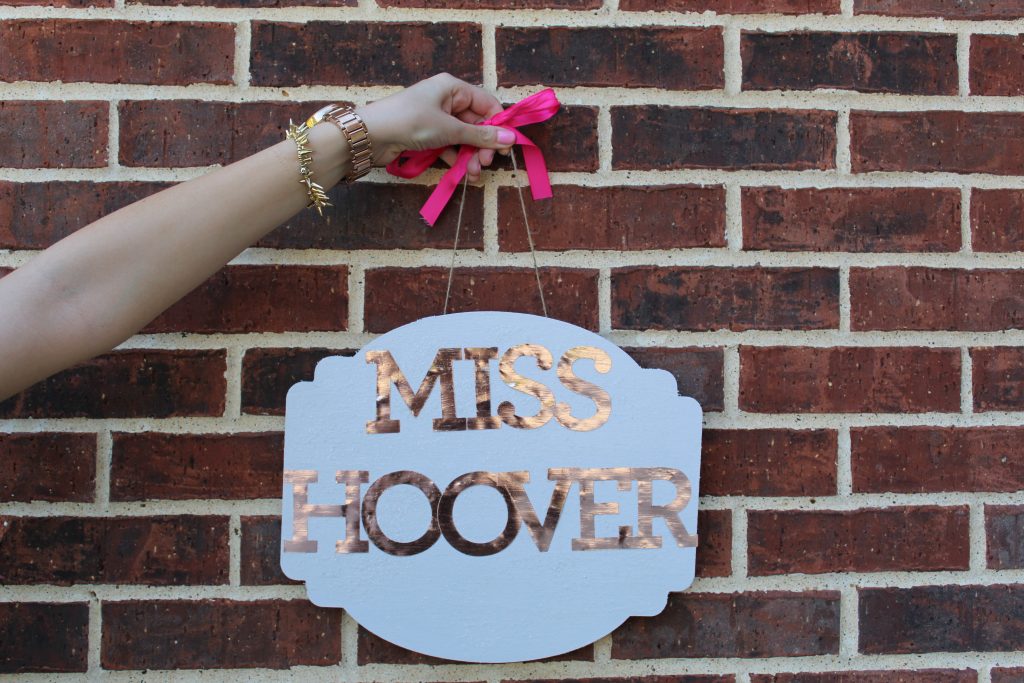
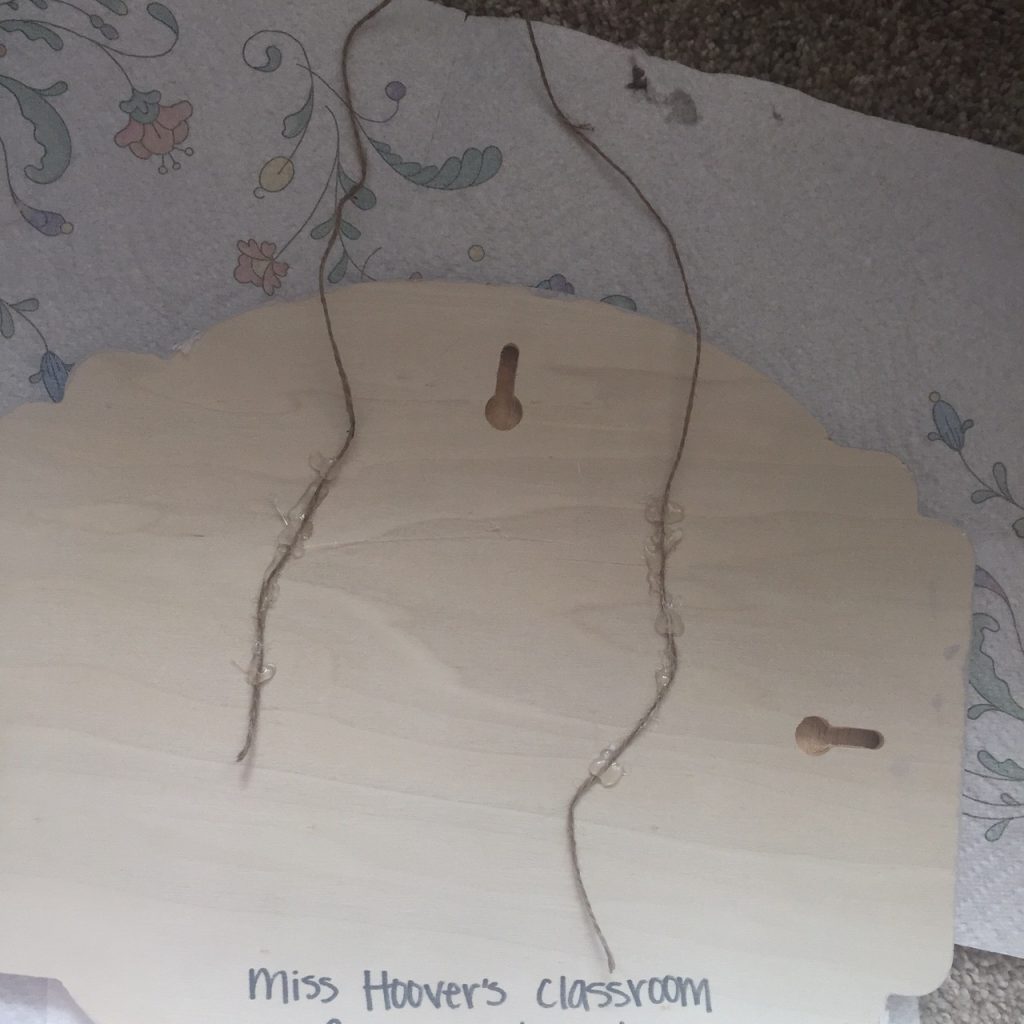
Once everything is perfectly dry, grab your favorite string or ribbon and glue it on the back of your sign. I chose to use Jute because I love that look, but I almost used a pale pink ribbon! Whatever you have will work for this.
To add a personal touch, I wrote down Miss Hoover’s Classroom, the school, and the year. This way, if I am still using this sign in 5 years, I can go down memory lane and it is super special!
This is such an EASY craft! I love how you can personalize it however you want. If you decide to do this craft, tag me in it on Instagram @theglamorousteacher !! I would love to see your designs!